
Here is the material list: 30 gauge wire, floral tape, taffeta (must be synthetic, to melt it), stamen for the middle is optional.

Begin by cutting at least 6 petals of each size. Flat end on fold of fabric.

Keep the sizes in separate piles, thru out this process. Now cut the wire in about 6" lengths, we will use one piece to wire each petal, like this:
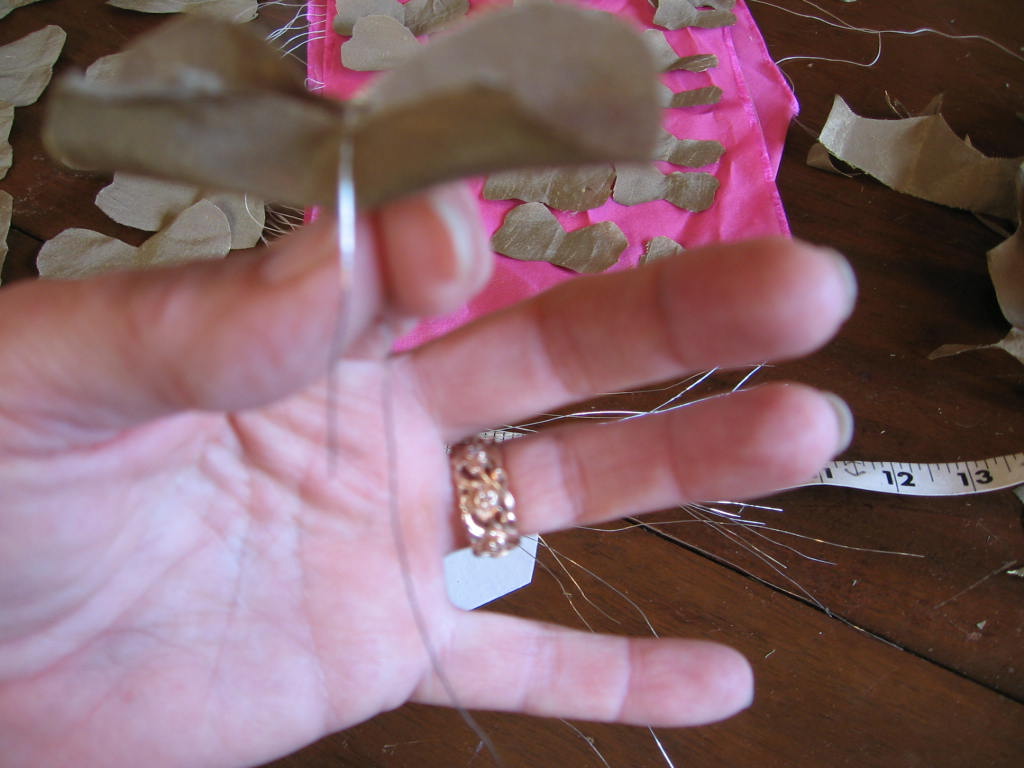

The wire is bent over the middle of the flower, then twisted, tight!( Sorry about the picture)
Finish wiring all petals tightly and set aside in separate size piles. Next we are going to melt the edges of each petal. First spread it open, then (I use a lighter, have at least 3 on hand to switch between them, they get HOT)


When these are all finished, we will start the assembly process. Start with a stamen, (optional) or the smallest petal. Add another small petal. The most important part is to keep all the petals at the same level (were the wire meets the fabric). Keep adding petals, twist the wires together, turn the petals as you add them.


See how the petals are all at the same level? You do not need a gentle hand while doing this. Now just keep going adding larger and larger petals (twisting the wire as you go) until you like the way it looks. There are no rules.
When you add all the petals, twist all the wires together as tight as possible, I use a pliers at this point. Finish with floral tape, starting as close as possible to the top of the bunch, pinch and twisting the tape all the way down to the length you desire.


And it would be great if you sent a link with your design, I would love to see them! Have fun!
Linked to Shabby Nest's Frugal Friday. Check it out!
8 comments:
Wow! These are so pretty!
Wowzers!! Beautiful...I want to try this! Thanks for the tutorial. PS... your nails looks great!
Those are so pretty. Silk flowers are so expensive. I'm going to try these! Thanks for posting.
Oh wow! I never thought of using the wire before firing the edges of the flowers. It gives them a lot more body!
This is a great tutorial Debi! Do you mind if I link to it from my blog? :)
T.S I'd be happy if you linked it!
thank's ! I'ma really happy. I tried from long time to find some silky flowwers and now i'll can try to do ! Thank you for posting the way to do it !
Maravilloso , me encanto e tutorial, Chile.
Génial, merci beaucoup.
Post a Comment